
Firstly, scroll down to the bottom of your website and click 'Site Editor'. You will then be shown the Website Editor Control Panel.
Below are detailed examples of how to edit sections within your website:
Editing Sections
1. Click Content Manager and then Right click on a section to perform the following actions:
- Activate/Hide - show/withhold an item from appearing on the website.
- Edit - change details about a certain thing.
- Preview - view something before it is live.
- Restrict Access - limit the ability for users to see/use.
- Set as the Default (home) Page

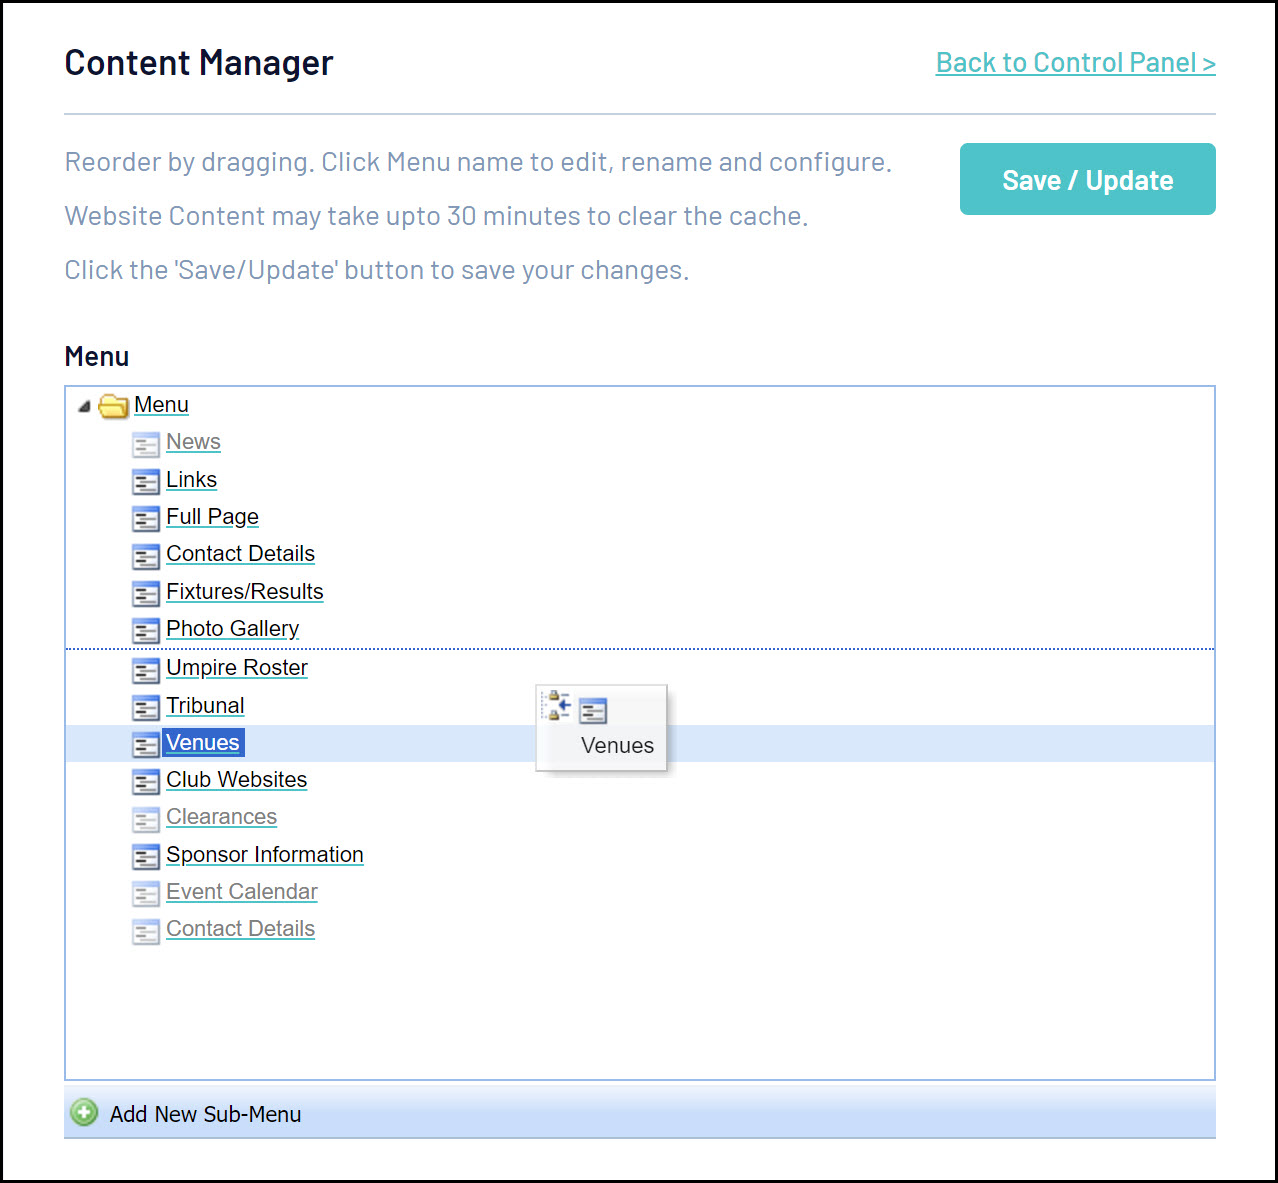
Moving and Arranging Sections
Sections can be moved up and down the menu structure - or from one sub-menu to another sub-menu.
1. Click content Manager and then click on the section name.
2. Drag and drop the section into the desired position.
Sub Menus
You can create a menu item with multiple drop down sub-menus. For example, you may want to create a menu item called ‘Inside the League’ or ‘About Us’ that includes several sub menus (eg. History, Committee Members, Contact Us). To do this:
1. Click on Content Manager and then Add New Sub Menu at the bottom of the menu box for which you want to add the sub menu. The sub menu folder will appear at the bottom of the menu tree with the name ‘New Folder’. The folder will be hidden to begin with.

2. Click on the New Menu you have created.
3. Give the new folder a name by clicking again to open the text box. Type in the name you want to give the folder. Hit the ‘Enter’ key or click outside of the text box to save the name.

4. To activate the folder, right click on the folder and click ‘Active’.

5. Now that you have created the folder, you can add sections to it as sub menus using the drag and drop process.
NOTE: Sub menus can also be created within sub menus, by adding a sub menu folder to an existing sub menu folder (again just use drag and drop).
Adding a New Section
You can add a new section through your website by:
1. Click Content Manager and then click the drop down box next to 'Add New Section' at the bottom of screen.
2. Select the section type you would like to add. Click on the Add New Section button.
3. This is a quick option for adding new sections one at a time.

Secure/Restrict Access to a Section
Selecting Restrict Access will make that section of the websites available only to pre-approved members. For example, an association or club may want to set up a secure section for coaches, representative players or board members. The general public therefore can not access the section.
People authorised to access the section must have a valid Passport . The email address used in their SportsTG Passport registration is used to give authorisation to that person to access the secure section.
To make a section secure:
1. Right click on the section form within the Content Manager. Click on Restrict Access from the menu.

It will initially state that 'All Users have Access' (green writing). The section will remain open to the public until someone is added to the list of authorised visitors.
Enter the email addresses of the people who have access to this page (NB: the email address needs to be the same as their Passport email address).
2. Click Add.
The member will be added to the list of authorised people. There is no limit on the number of people who may be allowed to view a page.
3. In order to access the restricted section on the website, the member must enter their Passport email address and password to access the section. After doing this the first time, the member will remain logged in so should not have to re-enter their Passport username and password on subsequent visits.
