
A Custom Field refers to any piece of information you want to collect and store on your members that do not already exist as Standard Fields within the Passport database.
Custom Field can be added to your registration forms or created as a database-only field that appears as an option when viewing a Member Record through Passport.
To set up your own custom fields, follow the steps below:
Firstly, login to your Online Membership Database - If you don’t have your login details please contact your State Governing Body or Association.
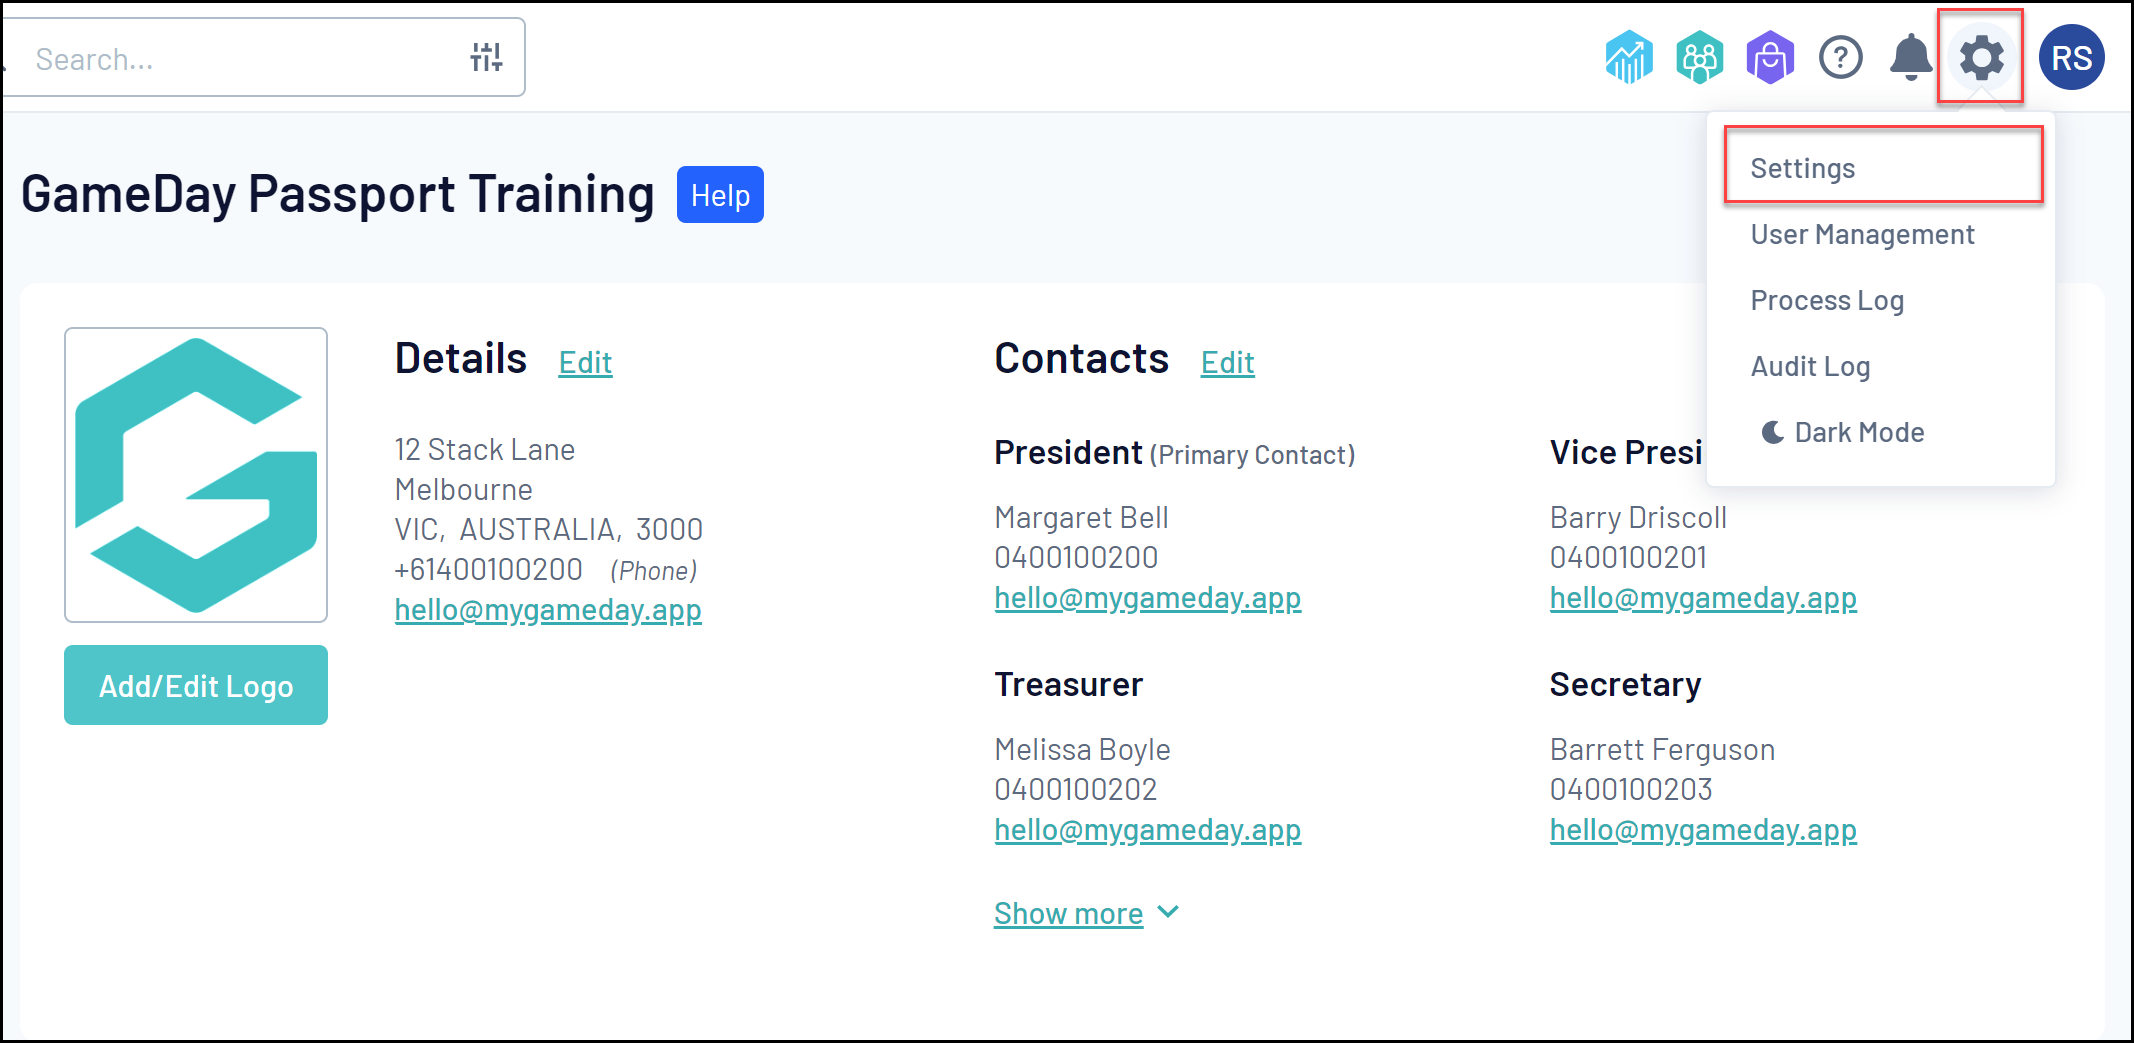
1. From your Organisation Dashboard, click the Settings Cog > SETTINGS
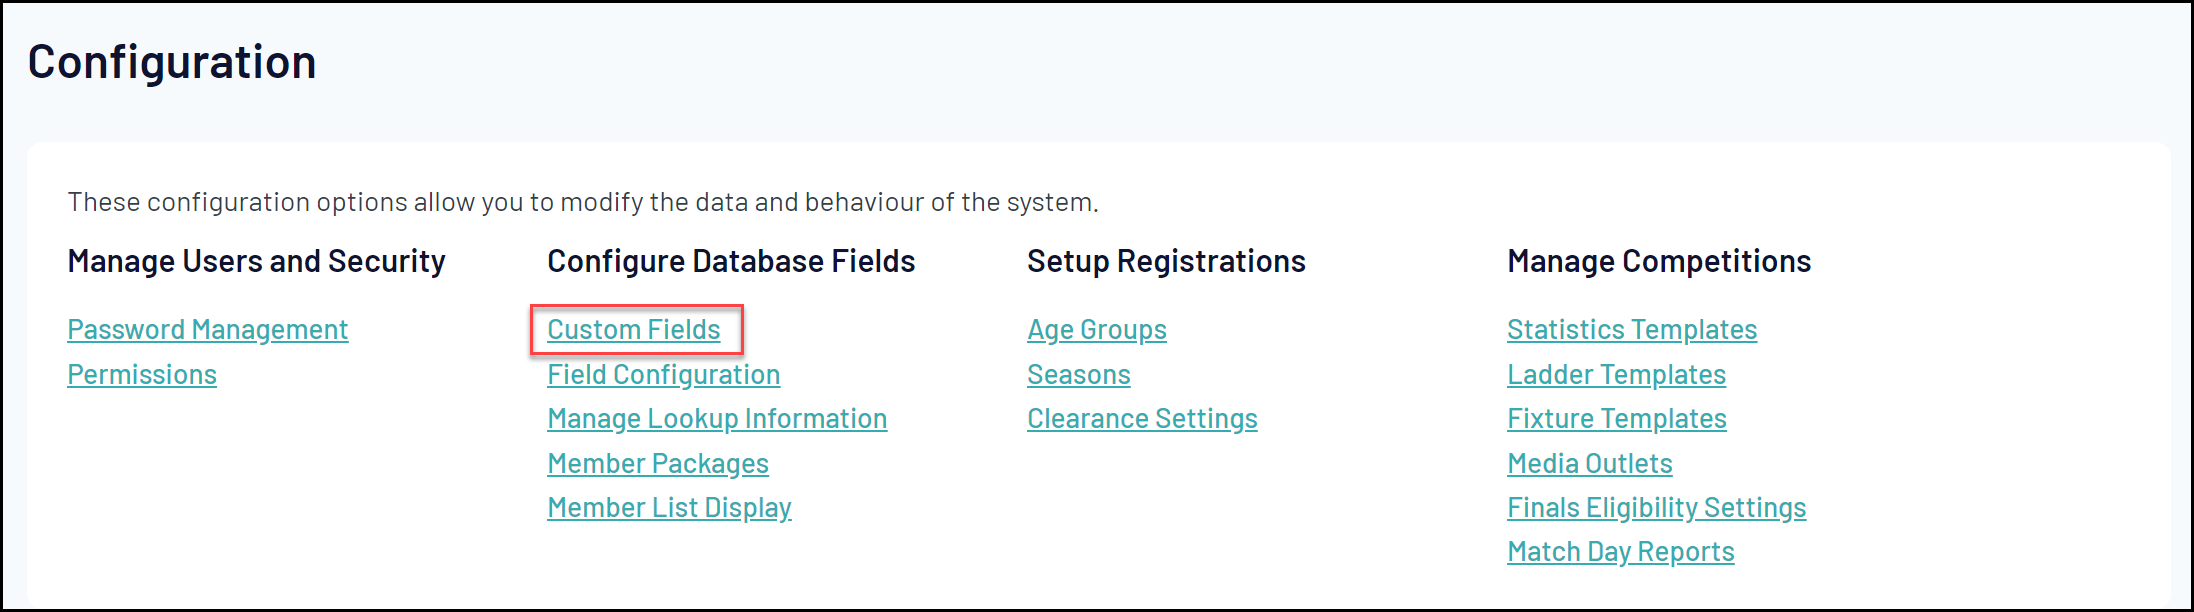
2. On the next page, under Configure Database Fields, click on CUSTOM FIELDS.
3. Click on the appropriate tab to choose whether to create custom fields for Members, Clubs or Teams.

A list of custom fields will appear. There are a number of different types of custom fields available that you can add to your database, each of which appear and work differently. These are:
- Custom Text Fields: Allow the entry of text information
- Custom Number Fields: Allow the entry of numerical values
- Custom Date Fields: Allow the entry of a specific date
- Custom Lookup Fields: Allow the creation of drop-down lists from which an option can be selected
- Custom Checkbox Fields: Allow the creation of a single check box which can be selected (ticked) or left blank
- Custom Member Notes: Allow the entry of text information over several lines
4. To create a custom field, click in the field that you wish to use and type in the name that you want to give the field.

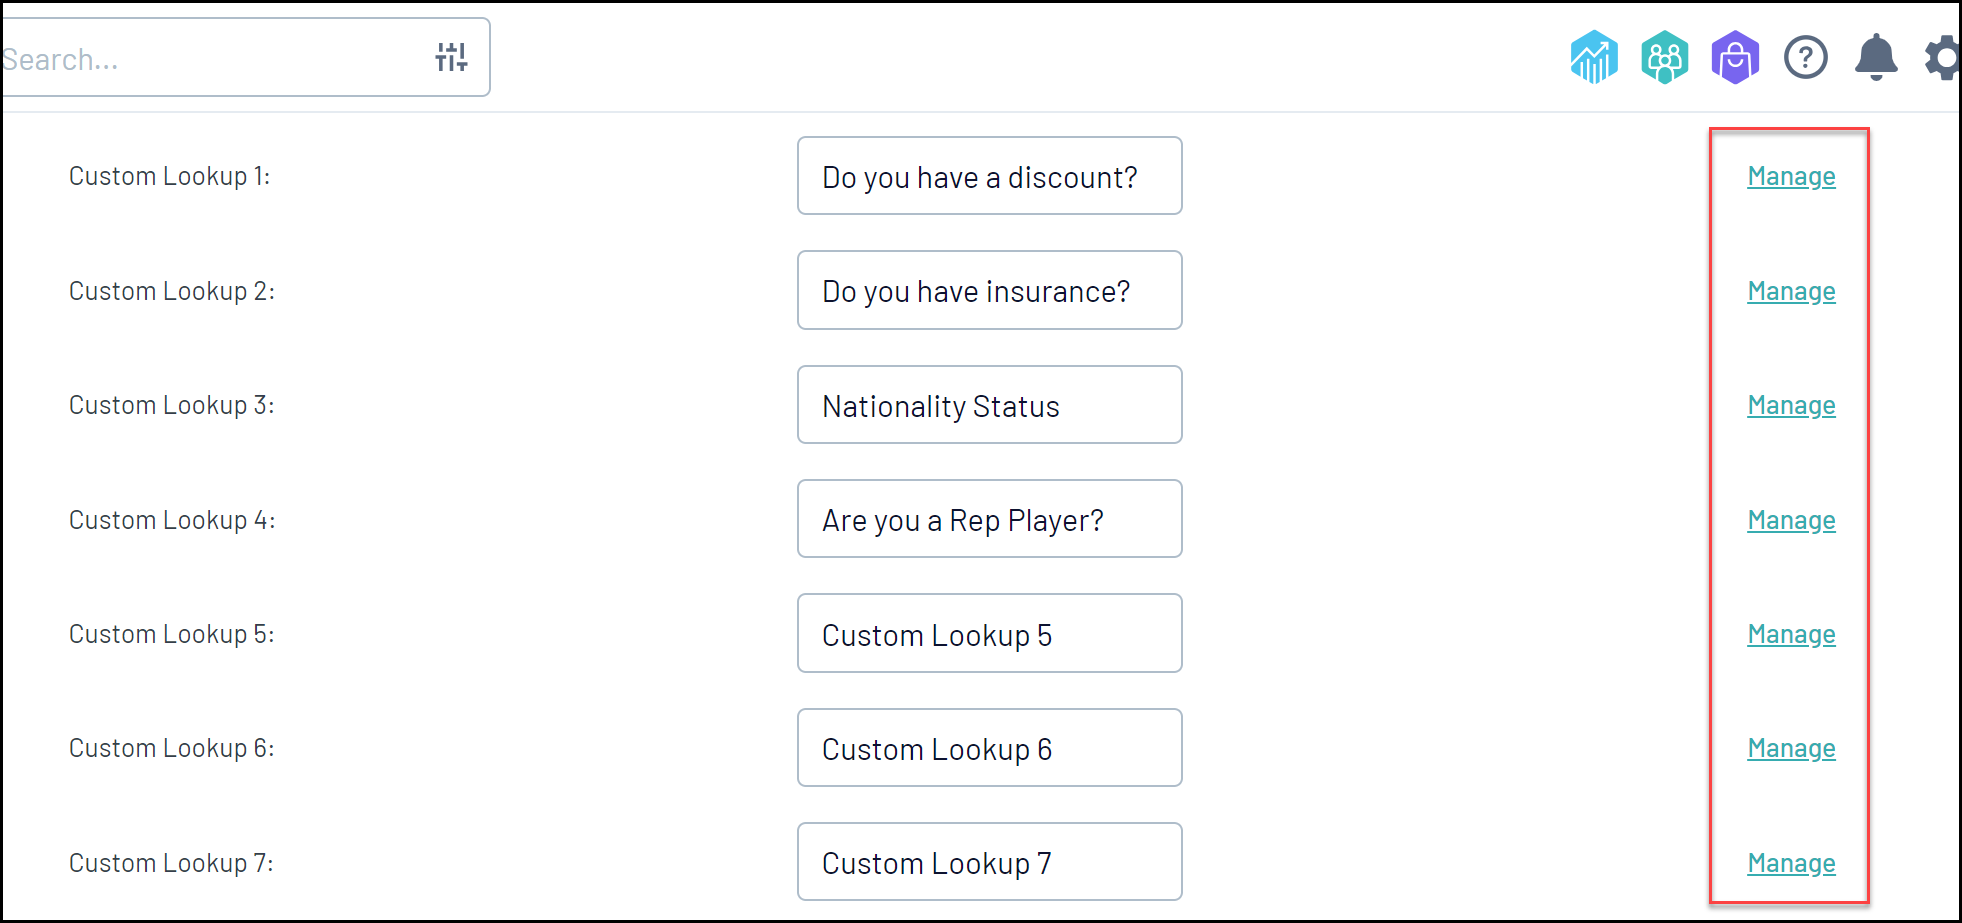
For Custom Lookup Fields, you will also need to configure the options that you want to offer for your members to select. To do this, follow the steps below:
5. To set up a Custom Lookup Field, scroll down to an available custom lookup field and type in the name you want to give the field, then click on the MANAGE link next to that field to add the lookup options.
6. Click on ADD A NEW OPTION.

7. In the Name field, type in the name of the record you wish to add, then click UPDATE.

8. Repeat steps 6 & 7 until all required responses have been added.
If you need to change or remove a lookup record, click on the Edit or Delete links next to each response.

10. When you have finished setting up custom fields, scroll to the top or bottom of the screen and click UPDATE CUSTOM FIELDS.
