
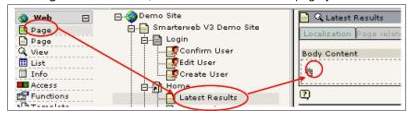
1. Click Page in the left menu, then click the name of the page you want to edit. Click the ‘Create new record’ image.
2. Select ‘Text with Image’ or ‘Image Only’ as the content type.

3. Click on browse to find the image on your computer. (Note: To add multiple images in the one element simply hit save and then either hit browse or the file list icon to add more images).

4. Select the position that you want for the image from either the icons or the dropdown menu.
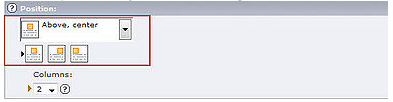
5. Choose how many colums you want to split the image up into. This only really applies if you add multiple images in the one element. In the images below the firstr time two columns have been selected which mean the images get split into two columns, the next image shows four columns.

6. To make text appear beside the image, enter the text into the ‘Caption’ field. (Note: if you are wanting to add a specific caption to an image (when you have added more than one image) then it is recommended that you don't use an image element as it is difficult to get the layout you want. In this case it is easiest to use a table in a regular text element.)
7. Alternate text and Title text are also recommended for SEO

8. To alter the width of the image, enter the width you want (in pixels), a tick will automatically appear in the checkbox.
9. To alter the height of the image, click the ‘More Options’ icon
10. Then enter the height you want (in pixels). A tick will automatically appear in the checkbox.